
Homemade White Bread
Ad / Affiliate Disclosure: As an Amazon Associate, I earn from qualifying purchases. This post contains affiliate links and advertisements. If you buy through these links, I may earn a financial commission from Amazon or Walmart (#WalmartPartner via ShopYourLikes) as an authorized shopping partner, at no extra cost to you.
There is something special about making bread at home. The smell, the feel of the dough in your hands, and then that first warm slice when it comes out of the oven—it is one of those simple things that just feels good.
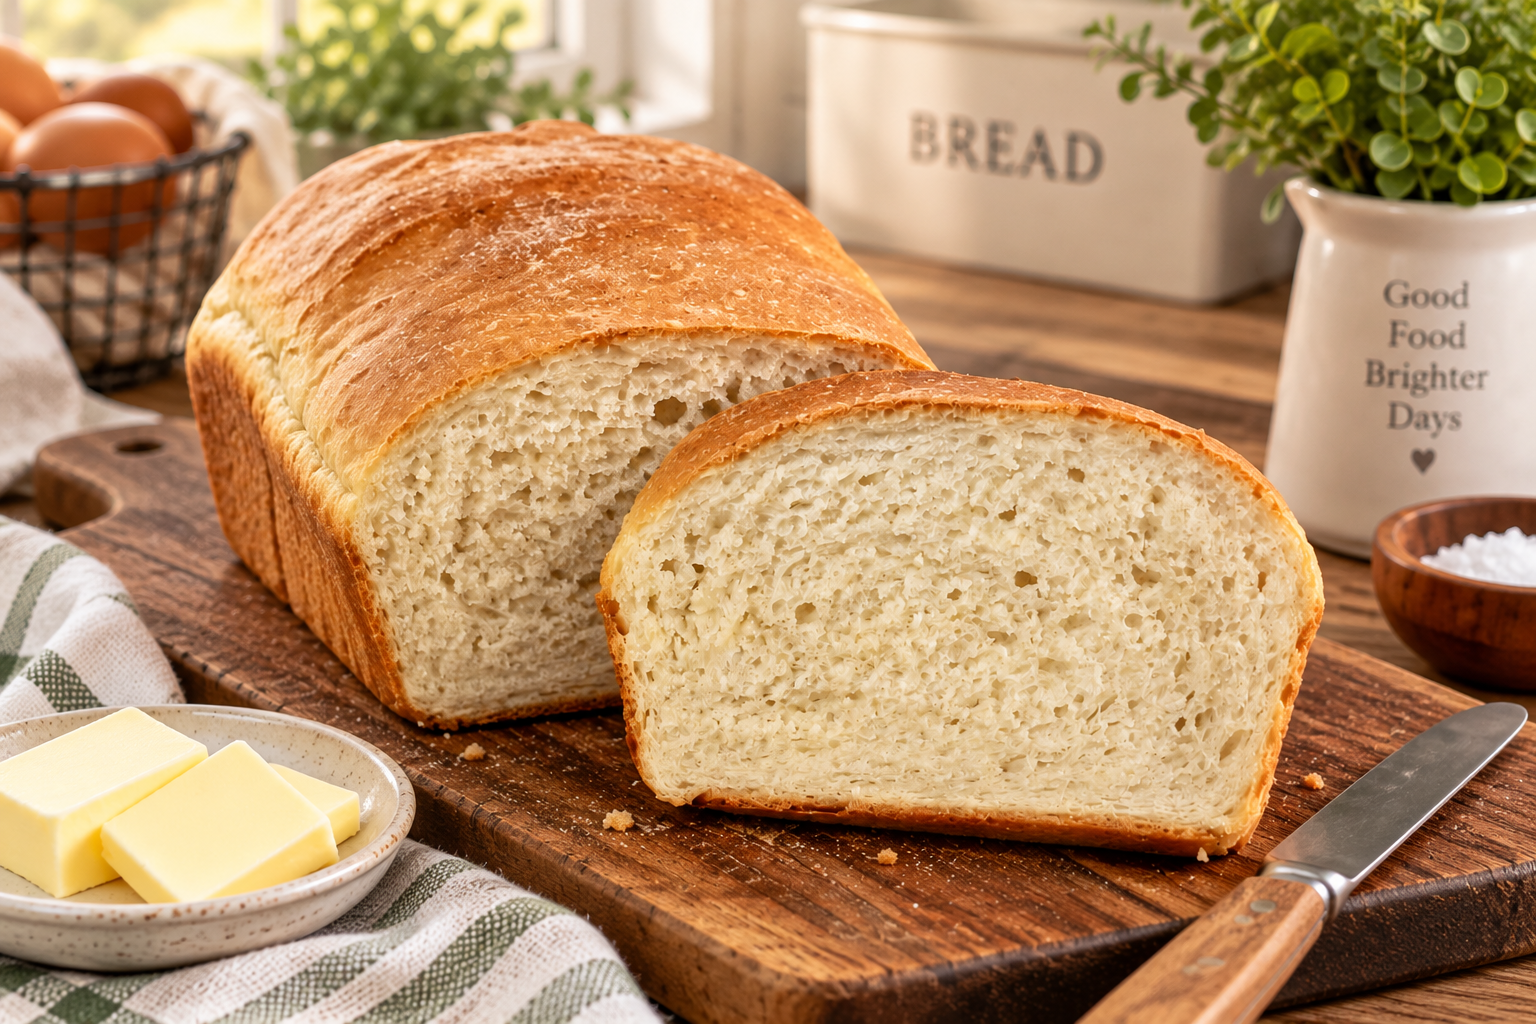
This is a soft, homemade bread that makes two loaves and has become one of my favorite breads to make.
Makes: 2 loaves
Prep Time: 20–30 minutes
Rise Time: About 2½ hours
Bake Time: 35 minutes
Total Time: About 3 1/2 hours
Equipment (Affiliate Links Below)
- 2 9×5-inch Loaf Pans Amazon (paid link) | Walmart
- Dough Whisk Amazon (paid link) | Walmart
- Large Mixing Bowl Amazon (paid link) | Walmart
- Bowl Cover Amazon (paid link) | Walmart
- Kitchen Thermometer Amazon (paid link) | Walmart
- Oil Sprayer Amazon (paid link) | Walmart
- Wire Cooling Rack Amazon (paid link) | Walmart
Ingredients
For Preparing the Bowl and Pans
- Butter or oil of your choice, for coating the bowl and loaf pans
- Butter, optional, for brushing the tops after baking
I use olive oil in my oil sprayer to coat the bowl and butter to prepare the loaf pans.
Instructions
1. Activate the Yeast
The temperature of your water matters when you’re working with active dry yeast. I recommend using a kitchen thermometer and making sure the water is between 105–115°F.
Add the warm water, active dry yeast, and a small spoonful of the honey to a large mixing bowl. Stir gently and let the mixture sit for about 15 minutes.
You’ll see the yeast become active and bubbly. Once you see that, it’s time to get mixing. Yeast needs food to stay active, so I like to move on to the dough while the yeast is at its best.
2. Mix the Dough
Add the remaining honey, salt, and melted coconut oil.
Using a dough whisk, gradually mix in 4½ cups of the bread flour.
Mix until the dough starts coming together and is close to the texture you want. It should be soft and slightly tacky, but not excessively sticky.
Set the remaining ½ cup of flour aside for kneading.
3. Knead the Dough
Now comes one of my favorite parts—kneading the dough. I find it so therapeutic to work the dough with my hands, and I never rush this part.
I used 4½ cups of flour in the mixing bowl, saving the remaining ½ cup for kneading. I pour the ½ cup of flour onto my work surface and spread it out a bit. Then I turn the dough onto the floured surface and begin kneading, adding a little more flour only if I need it.
Continue kneading until the dough is smooth, soft, and elastic, with just a slight tackiness.
Take your time and enjoy this part. There is something so satisfying about feeling the dough transform beneath your hands.
4. First Rise
Lightly coat a large bowl with Olive Oil using an oil sprayer.
Place the dough into the bowl and turn it once so the outside is lightly coated.
Cover the bowl with a bowl cover and place it somewhere warm.
Allow the dough to rise until it has approximately doubled in size, about 1½ hours.
Blooming Harbor Kitchen Tip: I love using my oil sprayer for this step. It gives the bowl a light coating of oil, and it makes transferring the risen dough out of the bowl so much easier.
5. Prepare the Loaf Pans
This is where I use butter.
Generously coat two 9×5-inch loaf pans with butter, making sure the bottoms and sides are covered.
You can use the oil of your choice instead if you prefer.
6. Shape the Loaves
Once the dough has doubled in size, gently punch it down to release the air.
Turn the dough onto your work surface and divide it into two equal portions.
Shape each portion into a loaf and place it into a prepared pan.
7. Second Rise
Cover the pans.
Allow the dough to rise again for approximately 45–60 minutes, or until the dough has risen about an inch above the rim of the pans.
8. Bake
Preheat the oven to 350°F.
Bake the loaves for 35 minutes, or until the tops are golden brown.
9. Cool & Enjoy
Remove the loaves from the pans and place them on a wire cooling rack.
Optional: Brush the tops with butter while the bread is still warm.
And now comes the best part—enjoying the bread you just made.
If you can’t resist slicing into a warm loaf, go ahead. There is something so comforting about that first warm slice of homemade bread.
If you prefer to wait, allow the loaves to cool completely before storing them in a Beeswax Bread Bag Amazon (paid link) | Walmart
Either way, take a moment to enjoy what you made. There is something special about homemade bread.
Blooming Harbor Kitchen Tips
Get the Yeast Temperature Right
This is one step I wouldn’t skip. Use a kitchen thermometer and make sure your water is between 105–115°F before adding the active dry yeast.
Start With 4½ Cups of Flour
I use 4½ cups of flour in the mixing bowl and reserve the remaining ½ cup for kneading.
Start with that ½ cup on your work surface and add a little more only if you need it.
The dough should be soft, smooth, and just slightly tacky. Adding too much flour can make your bread heavier.
Don't Rush the Kneading
Kneading is one of my favorite parts of making bread. There is something very therapeutic about working the dough with your hands and feeling it become smooth and elastic.
My Favorite Oil Sprayer Trick
I love this little kitchen tool because you can pour oil directly from it or use the sprayer, depending on what you’re doing.
For this bread, I use the sprayer to lightly coat the bowl before the first rise. It makes getting the dough out of the bowl so much easier.
Storing Homemade Bread
Once the bread has cooled completely, store it in a beeswax bread bag or another bread-storage bag at room temperature.
For the best freshness and texture, enjoy your homemade bread within about 5 days.
If you enjoy baking homemade bread, you may also want to try my Homemade Oat Bread: An Old-Fashioned Oatmeal Bread Recipe.