
My First Sourdough Bread Recipe
Disclosure: As an Amazon Associate, I earn from qualifying purchases. This post contains affiliate links, which means I may receive a small commission if you purchase through these links at no extra cost to you. #ad
There is something special about making your very first loaf of sourdough bread.
After watching Willow grow from a tiny sourdough starter into something bubbly, active, and full of life, the day finally came when she was ready.
The only thing left was for me to find the courage to begin.
If you’d like to see how Willow’s journey began, you can also read Willow’s Sourdough Starter Journey: A Lesson in Patience.
Quick Recipe Summary
Recipe: My First Sourdough Bread
Prep & Bulk Fermentation: Approximately 4–6 hours, depending on your dough and kitchen temperature
Cold Proof: Overnight
Bake Time: 45–50 minutes
Cooling Time: At least 1–2 hours before slicing
Oven Temperature: 450°F
Makes: 1 loaf
Ingredients
- 100 grams active sourdough starter
- 350 grams filtered water
- 500 grams unbleached bread flour
- 10 grams fine salt
Quick Overview
- Mix the starter, water, flour, and salt.
- Rest the dough for 30 minutes.
- Complete four rounds of stretch and folds, allowing the dough to rest between each round.
- Complete two rounds of coil folds, allowing the dough to rest between each round.
- Allow the dough to continue bulk fermenting until puffy and airy.
- Shape the dough and place it in a banneton.
- Cold proof in the refrigerator overnight.
- Preheat a cast iron Dutch oven to 450°F.
- Score the dough and bake for 30 minutes with the lid on.
- Remove the lid and bake for another 15–20 minutes.
- Cool for at least 1–2 hours before slicing.
The most important lesson I learned: Watch your dough, not just the clock. Sourdough has its own schedule.
Before My First Loaf
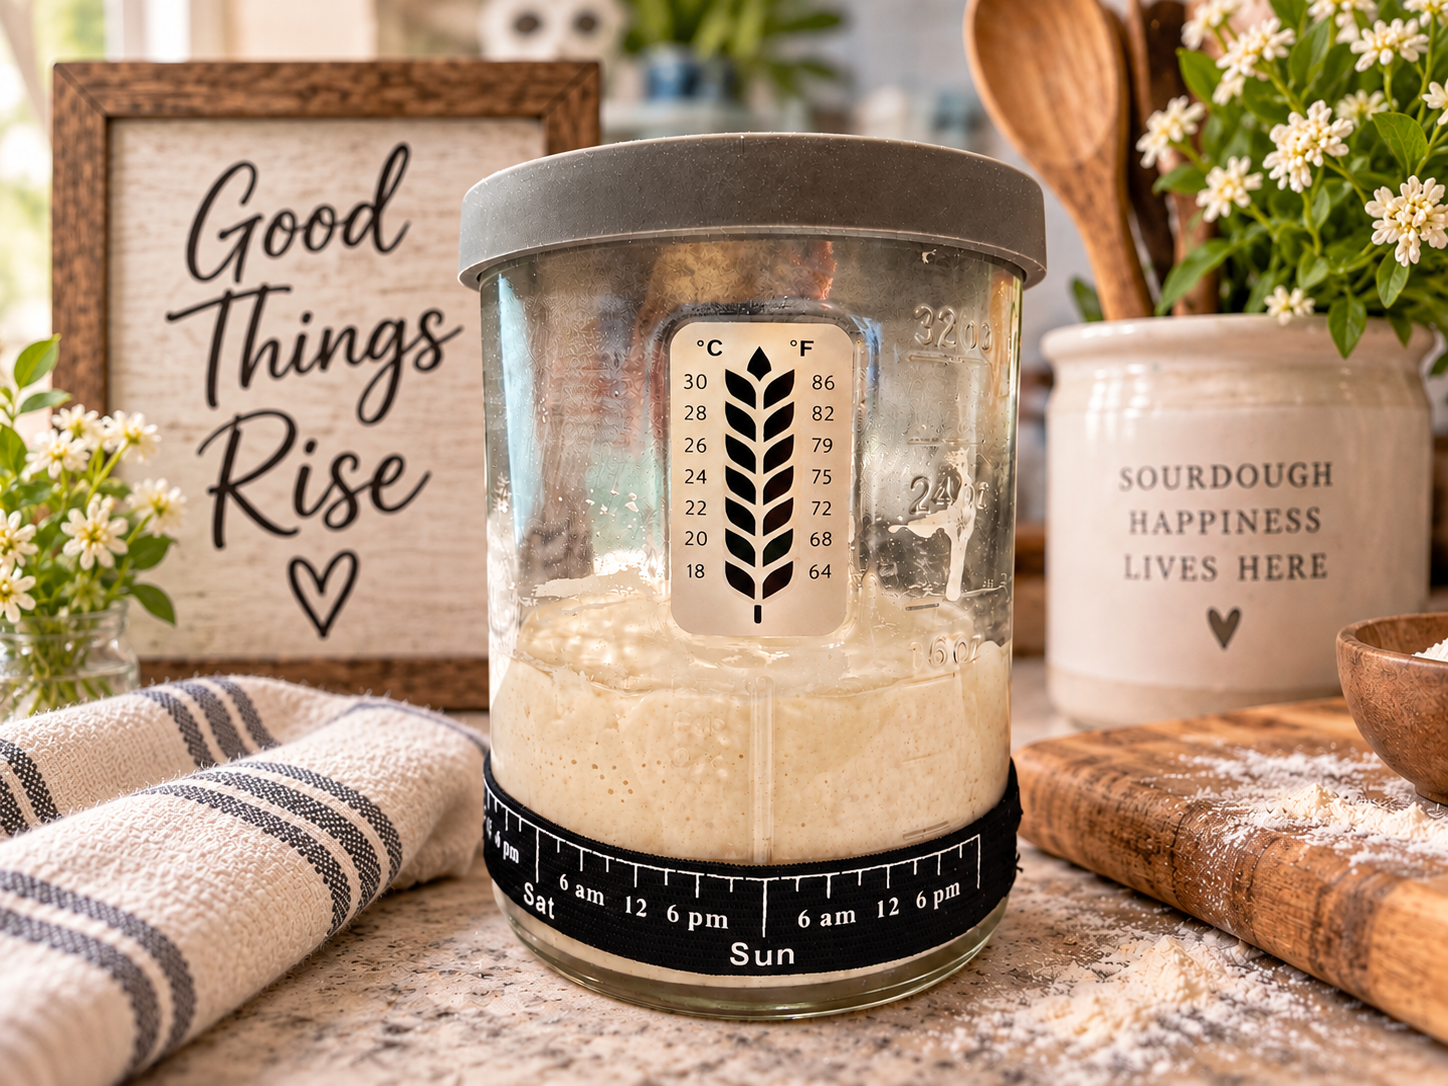
Willow was ready. I just had to find the courage to begin.
I had spent days watching, feeding, learning, and wondering if I was doing everything right. Sourdough has a way of teaching patience before you ever bake your first loaf.
And eventually, there comes a moment when you simply have to trust what you’ve learned and begin.
This was mine.
Don’t have a sourdough starter yet? Before you can make your first loaf, you’ll need an active starter. You can begin with my beginner-friendly guide, Let’s Make a Sourdough Starter.
Ingredients
- 100 grams active sourdough starter (Willow)
- 350 grams filtered water
- 500 grams unbleached bread flour
- 10 grams fine salt
For my first loaf, I used the simple combination of starter, water, bread flour, and salt that became the foundation of the entire process.
I quickly learned that sourdough baking is much easier when ingredients are measured by weight.
I also used unbleached bread flour (paid link) for this recipe.
Step 1: Mix the Dough
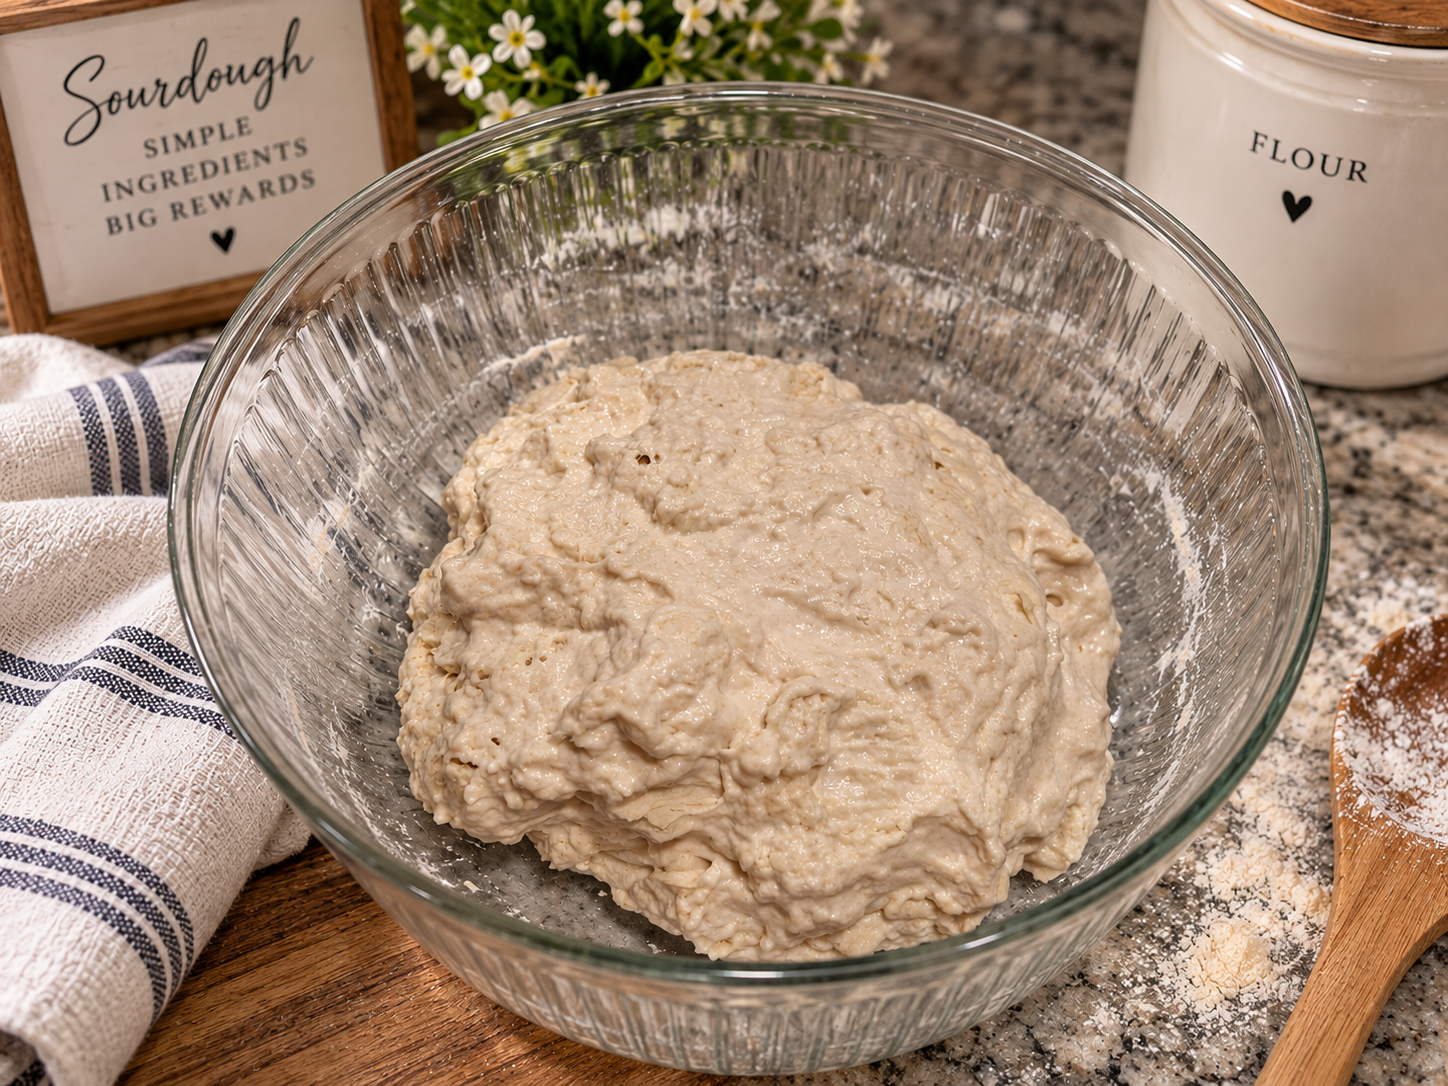
Add the active sourdough starter and water to a large bowl.
Mix until the starter is mostly incorporated and the water becomes cloudy.
Add the salt and bread flour.
I used a dough whisk (paid link) to bring everything together.
Mix until there are no dry patches of flour and a shaggy dough forms.
Cover and let the dough rest for 30 minutes.
This was the beginning.
At this point, the dough didn’t look like much. It was sticky, shaggy, and definitely didn’t resemble a beautiful loaf of sourdough bread.
But I was learning that sourdough has a way of changing slowly.
Step 2: Stretch and Fold
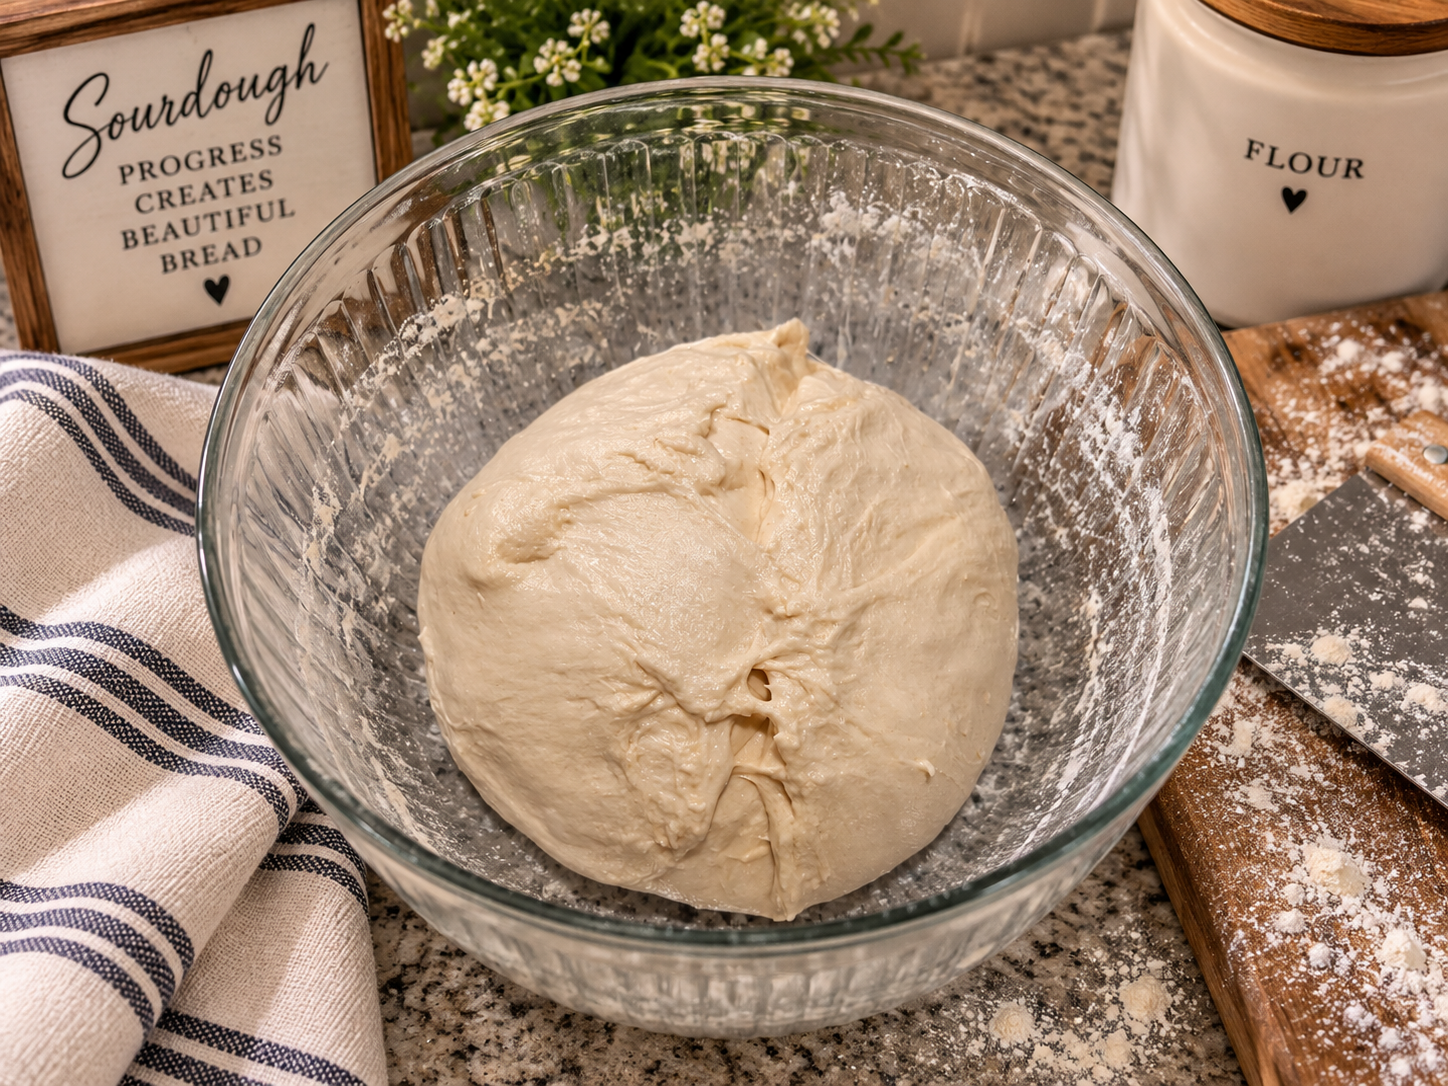
After the 30-minute rest, perform your first round of stretch and folds.
Wet your hands with water before handling the dough to help prevent sticking.
Working around the dough:
- Pull one side of the dough upward and fold it toward the center.
- Turn the bowl.
- Repeat on the next side.
- Continue until you have completed all four sides.
Cover the dough and repeat the process every 30 minutes.
Complete a total of four rounds of stretching and folding.
With each round, the dough began to change.
It slowly became smoother, stronger, and easier to handle.
That was one of my first lessons in sourdough:
Sometimes you have to give something time before you can see the progress happening.
Step 3: Coil Folds
After completing the stretch-and-fold rounds, I continued strengthening the dough with a couple of rounds of coil folds.
Wet your hands with water before each coil fold to help prevent the dough from sticking to your hands.
Gently slide both hands underneath the center of the dough.
Lift the dough upward until the ends naturally tuck underneath themselves.
Turn the bowl and repeat from the other direction.
Cover the dough and allow it to rest between rounds.
I completed two rounds of coil folds, allowing the dough to rest between each round.
By this point, the dough had become noticeably smoother, stronger, and more elastic.
This was another moment when I could actually see the dough changing.
Step 4: Bulk Fermentation
After the final coil fold, cover the dough and allow it to continue fermenting undisturbed.
Instead of relying entirely on the clock, watch the dough for signs that it is ready:
- It has grown significantly in size.
- The surface looks puffy and slightly domed.
- Small bubbles are visible.
- The dough has a gentle jiggle.
Temperature can make a significant difference in how quickly the dough ferments, so this part requires patience and observation.
This was when I learned that sourdough has its own schedule.
And that was probably one of the biggest lessons of the entire experience.
You can’t rush sourdough.
You can watch it.
You can learn from it.
But eventually, you have to let it do what it was meant to do.
Step 5: Shape the Dough
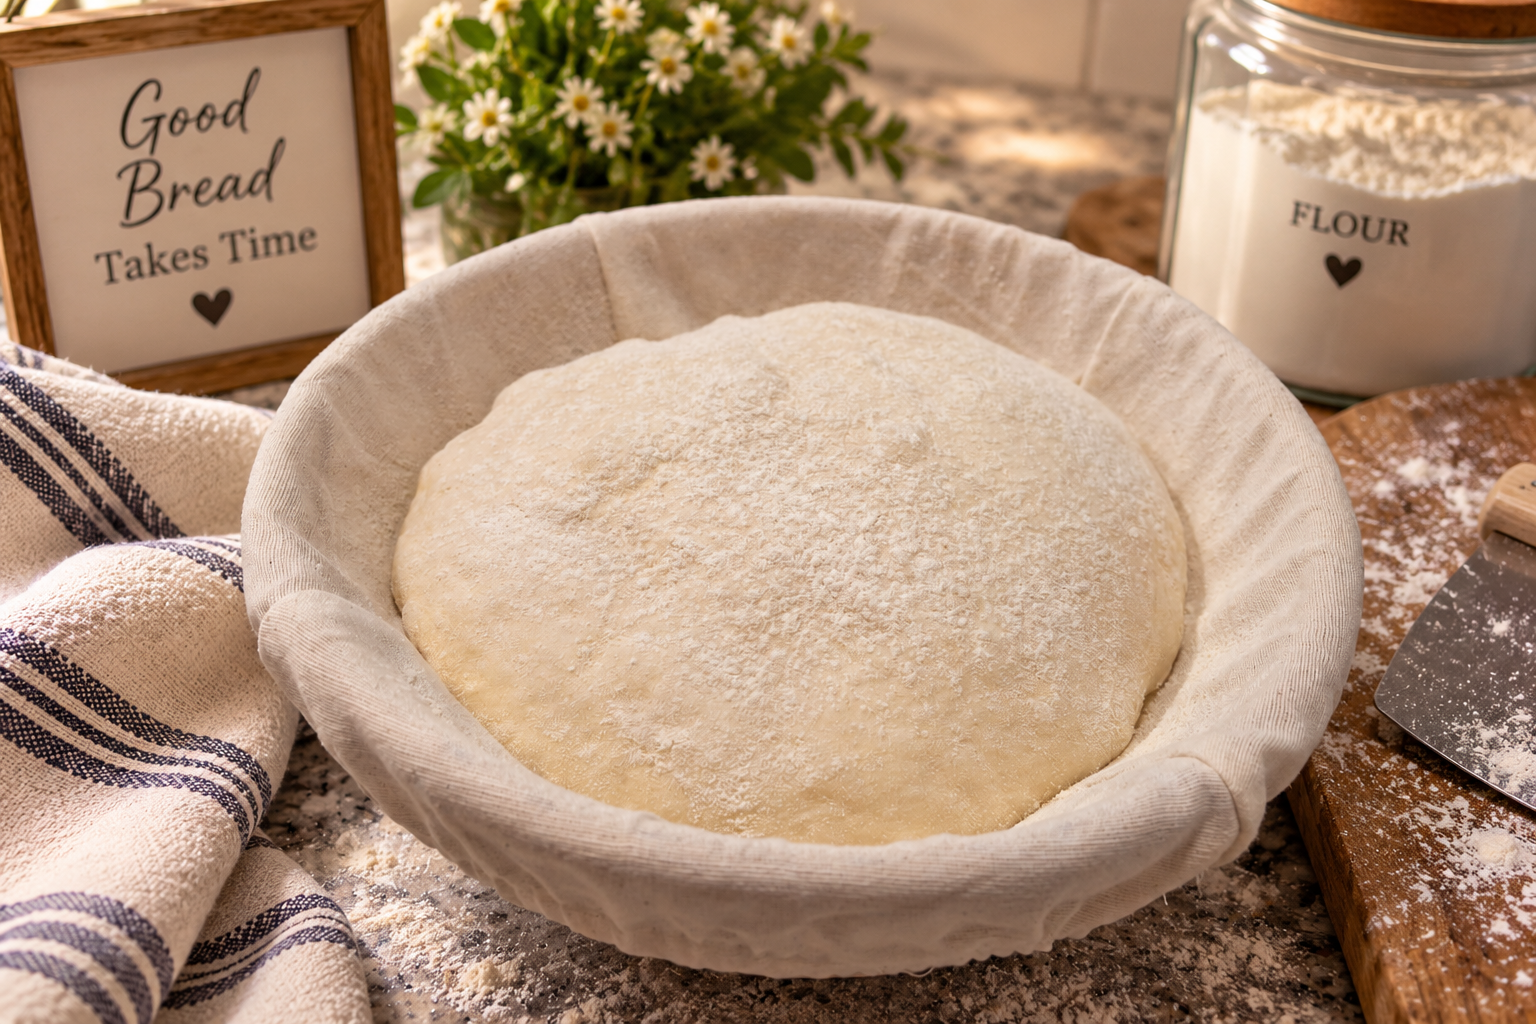
Lightly flour your work surface.
I used dough scraper (paid link) to help gently lift and handle the dough while shaping it.
Gently turn the dough out of the bowl.
Shape the dough by folding it inward and creating surface tension until you have a smooth, tight loaf.
Place the dough into a generously floured sourdough banneton basket (paid link) with the smooth side down and the seam facing up.
Cover the basket to prevent the dough from drying out.
This was the moment when my dough finally started to look like a real loaf of bread.
And suddenly, everything felt a little more real.
Step 6: Cold Proof
Place the covered banneton in the refrigerator.
The cold proof gives the dough time to rest slowly and makes the dough easier to handle and score before baking.
Shaped, covered, and tucked into the refrigerator for the night.
And then came another lesson in patience.
I had done everything I could do.
Now I had to wait.
Step 7: Preheat the Oven
When you’re ready to bake, place your empty Cast Iron Dutch oven (paid link) with the lid on inside the oven.
Preheat the oven to:
450°F
Allow the Dutch oven to preheat for approximately 45 to 60 minutes.
Keep the dough in the refrigerator while the oven heats.
At this point, the waiting was almost over.
Step 8: Score and Bake
Turn the cold dough out onto parchment paper (paid link).
Score the top of the loaf using a sourdough scoring tool (paid link).
Carefully lower the dough into the hot Dutch oven.
Bake:
30 minutes with the lid ON at 450°F
Then remove the lid.
Bake for another 15–20 minutes with the lid OFF
Bake until the crust reaches a beautiful deep golden brown.
The Big Reveal
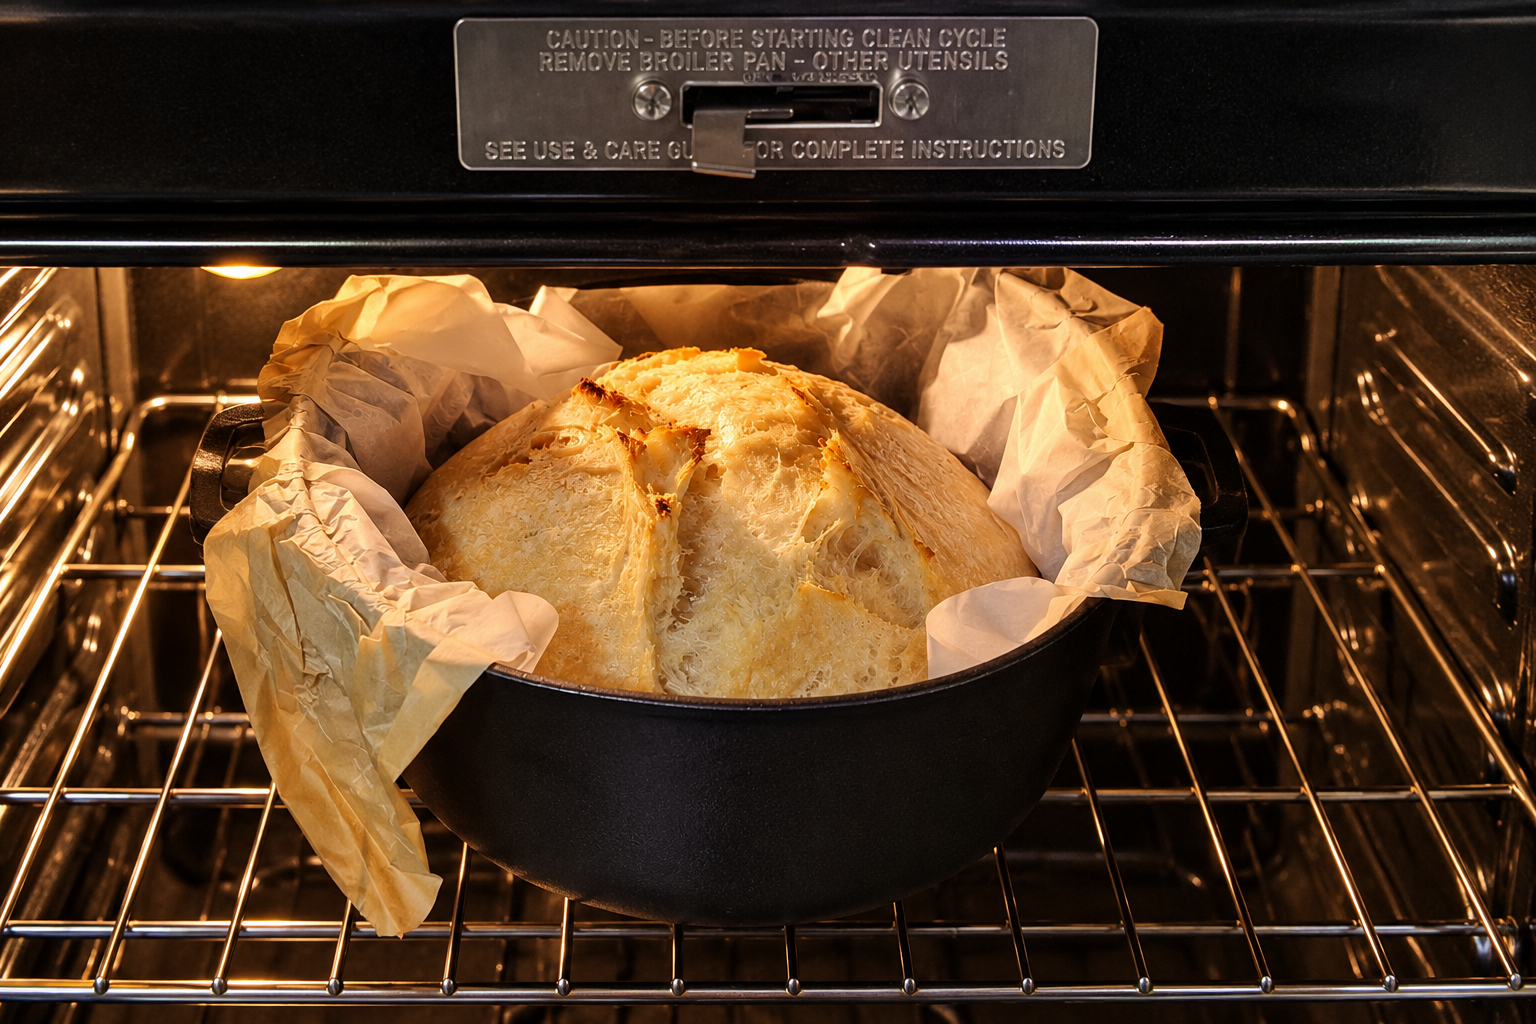
The moment I lifted the lid and saw my very first loaf had risen.
This was one of the most exciting moments of the entire process.
After all the feeding.
All the waiting.
All the stretching and folding.
All the wondering if I was doing everything right.
I lifted that lid.
And there she was.
My very first loaf.
Risen.
Golden.
Beautiful.
And honestly, I could hardly believe I had made it.
Step 9: The Hardest Part — Wait
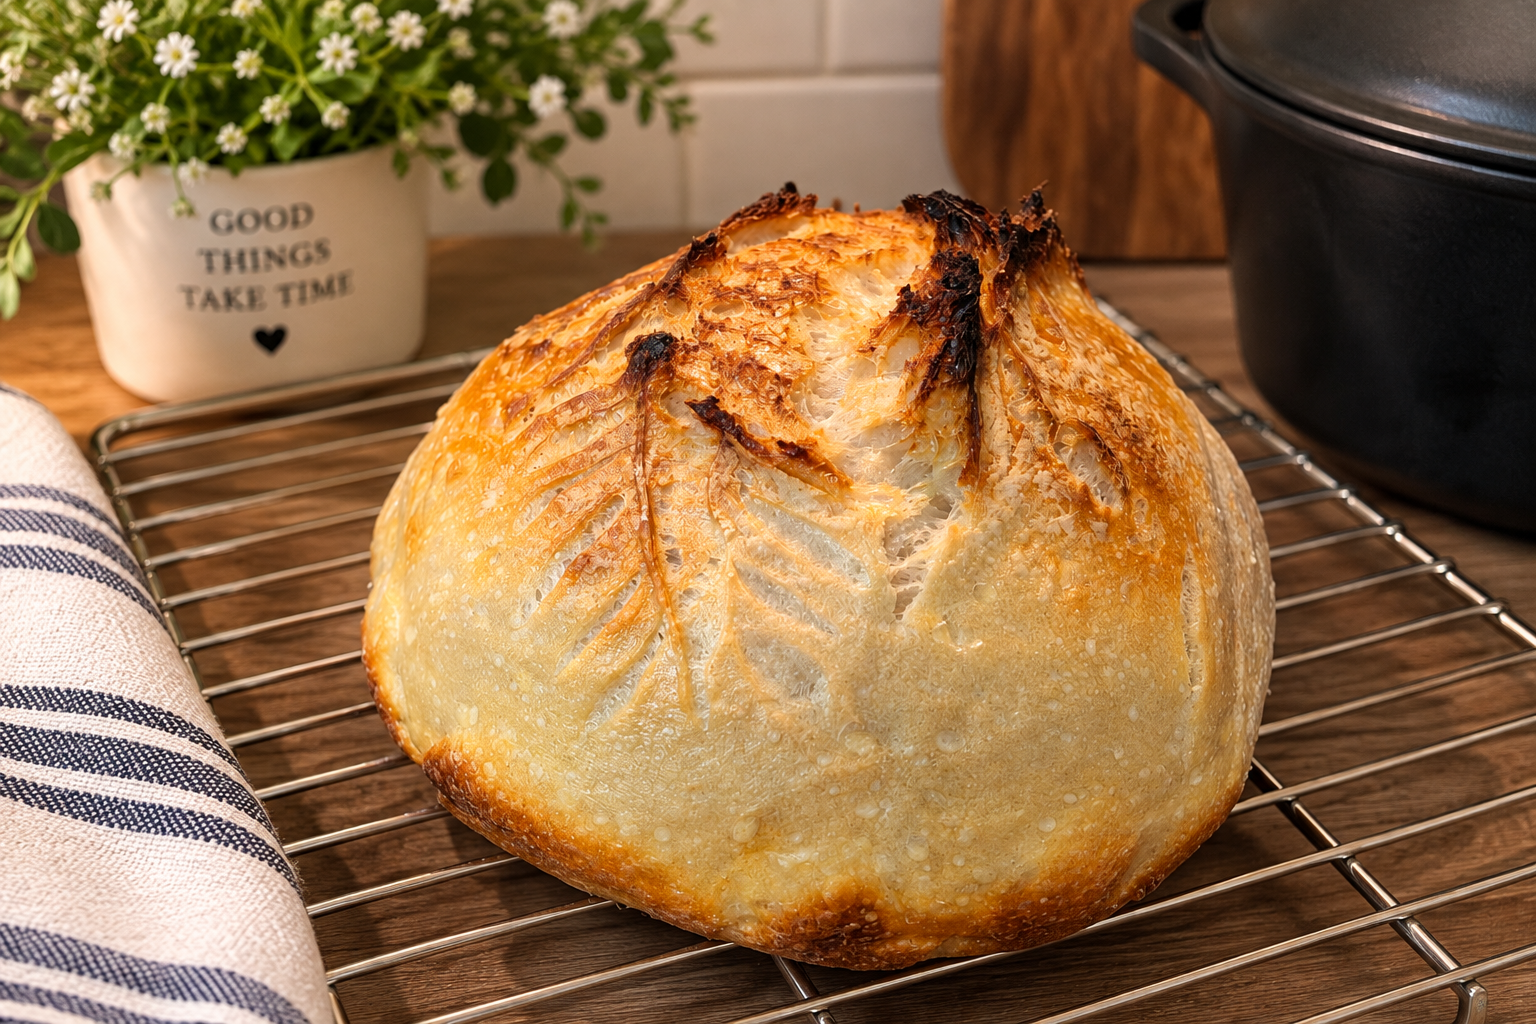
Remove the bread from the Dutch oven and place it on a cooling rack (paid link).
Now came what was honestly one of the hardest parts for me.
Waiting to Cut Into It
After spending all that time feeding Willow, mixing the dough, stretching and folding, coil folding, waiting for bulk fermentation, shaping, cold proofing, and finally baking my very first loaf…
I wanted to cut into it immediately.
The smell filling my kitchen made waiting even harder.
But this is an important part of making sourdough bread.
Even though the bread has come out of the oven, things are still happening inside the loaf as it cools. The crumb is continuing to set, and moisture is redistributing throughout the bread.
For the best texture, it’s important to let your sourdough bread cool for at least 1–2 hours before slicing.
Cutting into it too soon can leave the inside gummy or doughy because the bread hasn’t had enough time to finish setting.
And honestly?
Waiting was hard for me.
After everything that went into making my very first loaf, all I wanted to do was grab a knife and see what the inside looked like.
But I waited.
I placed my loaf on the cooling rack, tried to be patient, and reminded myself that this was still part of the process.
Sometimes the hardest part of making sourdough isn’t baking the bread. It’s waiting long enough to finally cut into it.
So if you’re making your first sourdough loaf, learn from me:
Give it time.
Let it cool.
Let the crumb finish setting.
And then, after waiting at least 1–2 hours…
finally enjoy that first slice.
And I can tell you from experience—after waiting that long, that first slice feels even more special.
Storing My First Loaf
Once the bread had completely cooled, it was time to store it.
I used my beeswax bread storage bags (paid link) to store my finished sourdough loaf.
I love having a reusable option for storing homemade bread, and these bags were a simple way to keep my first loaf protected after all the time and patience that went into making it.
My First Finished Loaf
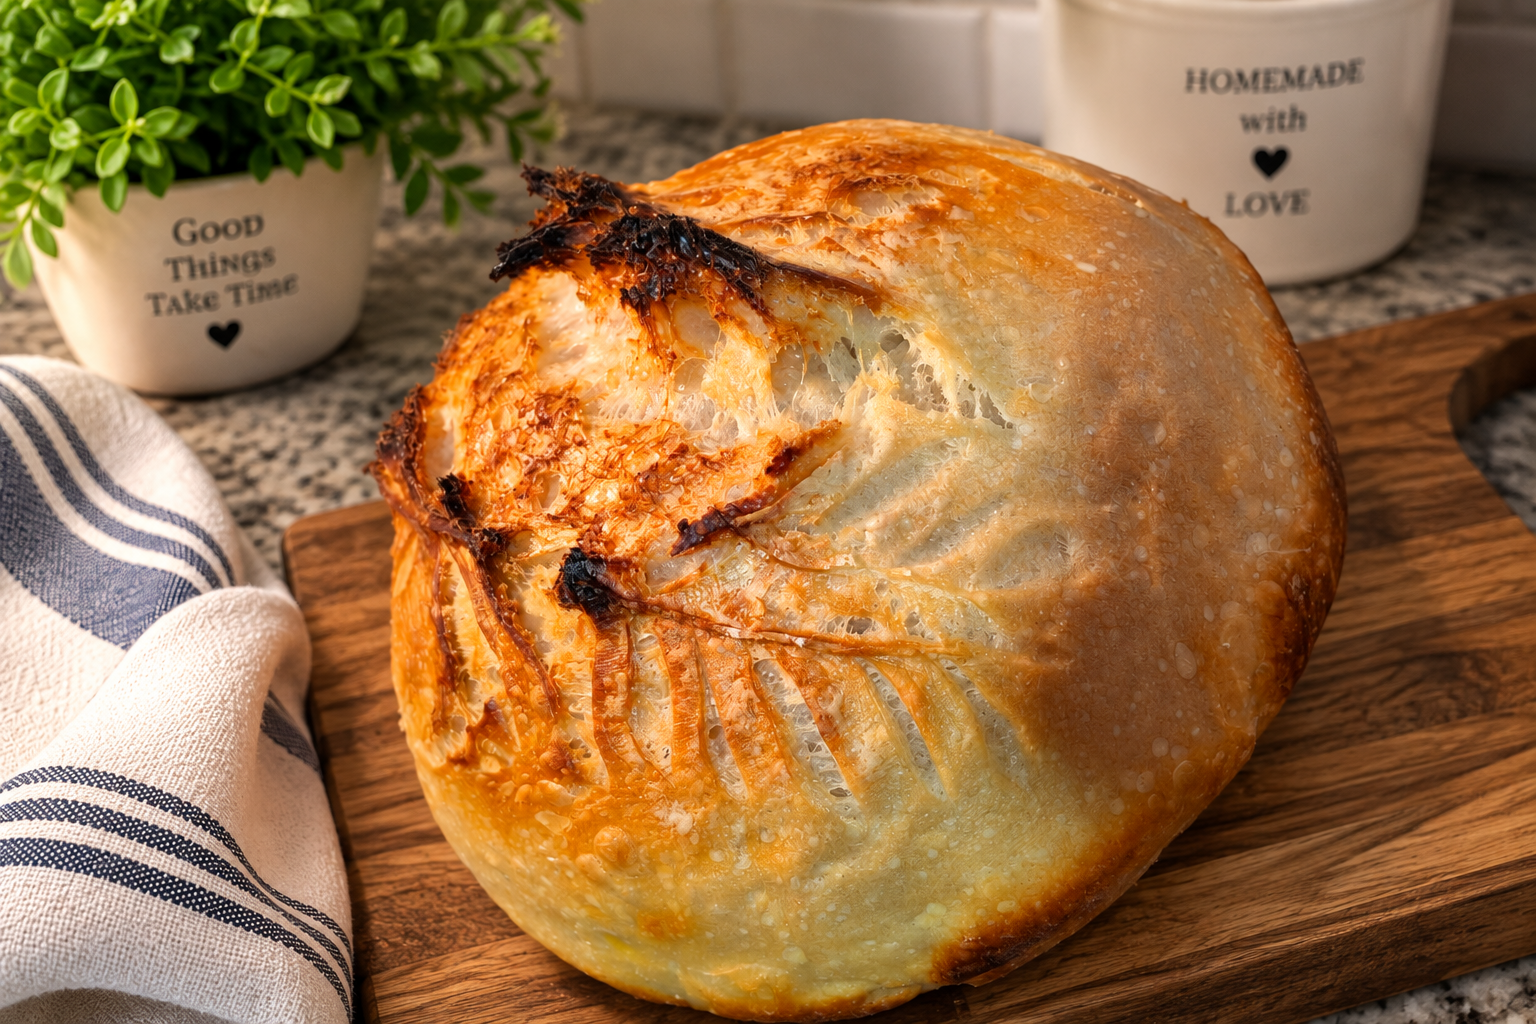
There was something about seeing that finished loaf sitting in my kitchen that felt different.
It wasn’t perfect because I had followed every step flawlessly.
It was special because I had learned my way through every step.
Willow had grown.
I had learned.
And somehow, together, we had made bread.
There Will Only Ever Be One First Loaf
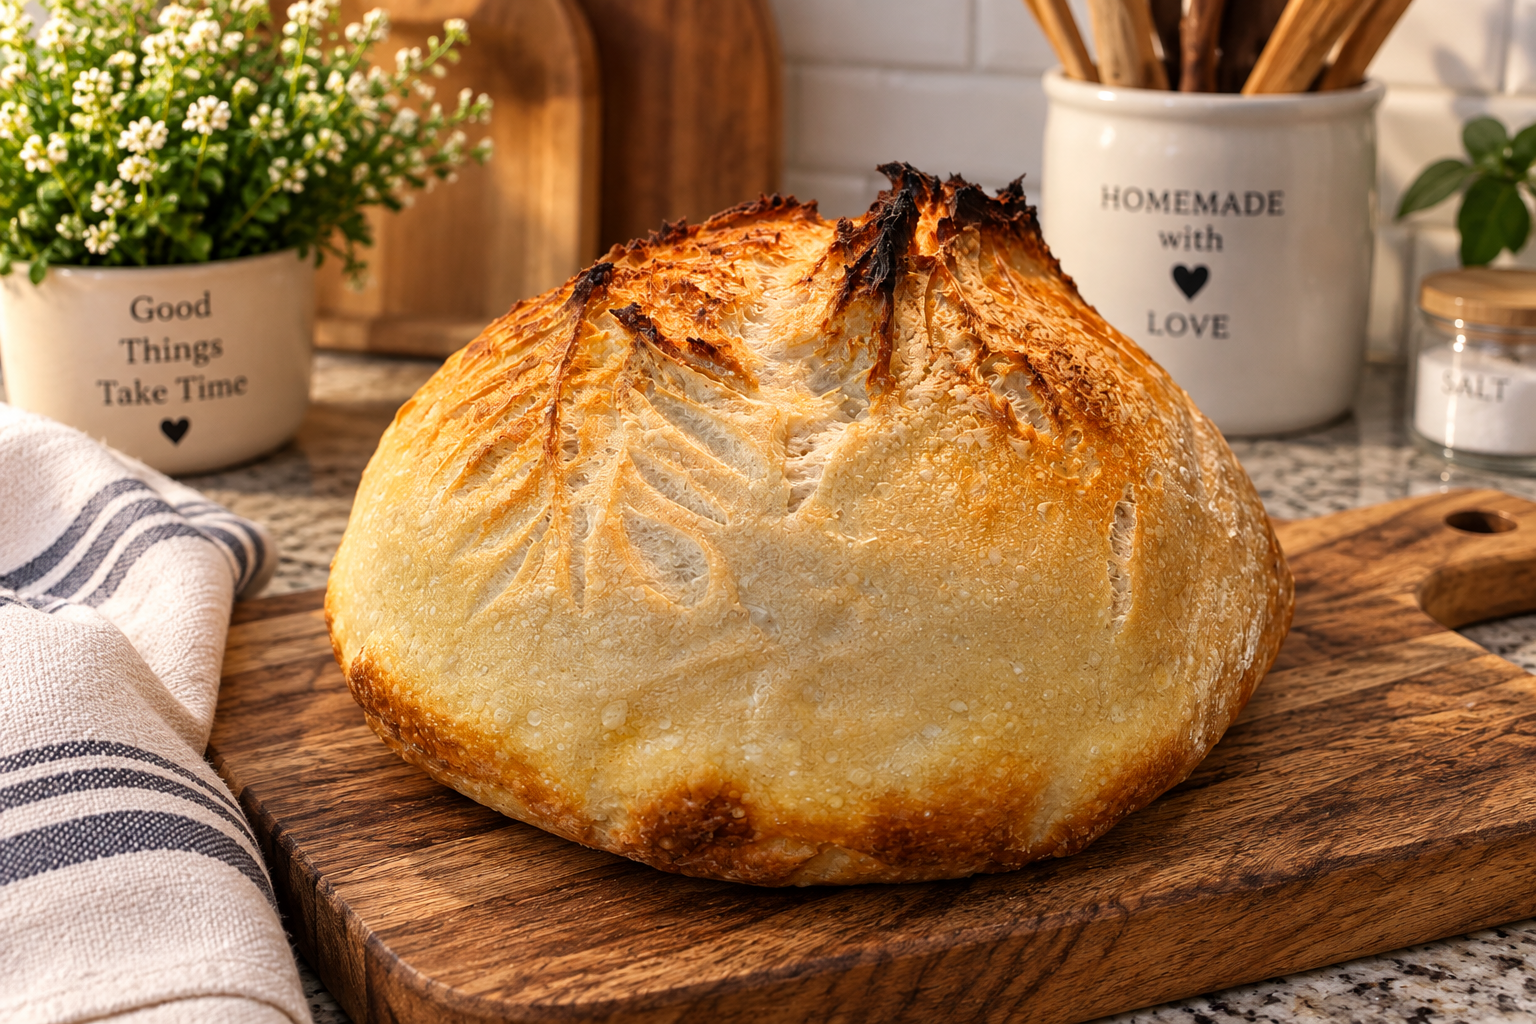
There will only ever be one first loaf. And this one will always be special.
My first sourdough loaf taught me something I probably should have known already.
You don’t have to know everything before you begin.
Sometimes you learn by doing.
Sometimes you make mistakes.
Sometimes you wait longer than you expected.
And sometimes, after a little patience and a little courage, you lift the lid and discover something beautiful happened while you were learning to trust the process.
This was my first loaf.
And I have a feeling it won’t be my last.
Continue Your Sourdough Journey
My first loaf was only the beginning of my sourdough journey.
If you’re just getting started—or looking for another way to enjoy your sourdough—you might also enjoy these Blooming Harbor recipes and guides:
Willow’s Sourdough Starter Journey: A Lesson in Patience
Follow Willow’s journey from the very beginning, from those first uncertain days of feeding and waiting to watching her grow into an active sourdough starter.
Let’s Make a Sourdough Starter
If you haven’t started your own sourdough journey yet, this beginner-friendly guide will walk you through making your first sourdough starter.
Zucchini Bread with Sourdough Discard
Don’t throw away your sourdough discard! This delicious zucchini bread is a wonderful way to put it to good use.
Easy Sourdough Discard Donut Holes
Looking for another delicious way to use your sourdough discard? These easy sourdough discard donut holes are another fun recipe to try.
The Tools I Used for My First Sourdough Loaf
These are the tools I actually used while making my first sourdough bread:
- Dough Whisk (paid link)
- Dough Scraper (paid link)
- Banneton Bowl (paid link)
- Parchment Paper (paid link)
- Sourdough Scoring Tool (paid link)
- Cast Iron Dutch Oven (paid link)
- Cooling Rack (paid link)
- Beeswax Bread Storage Bags (paid link)