Homemade Oatmeal Bread

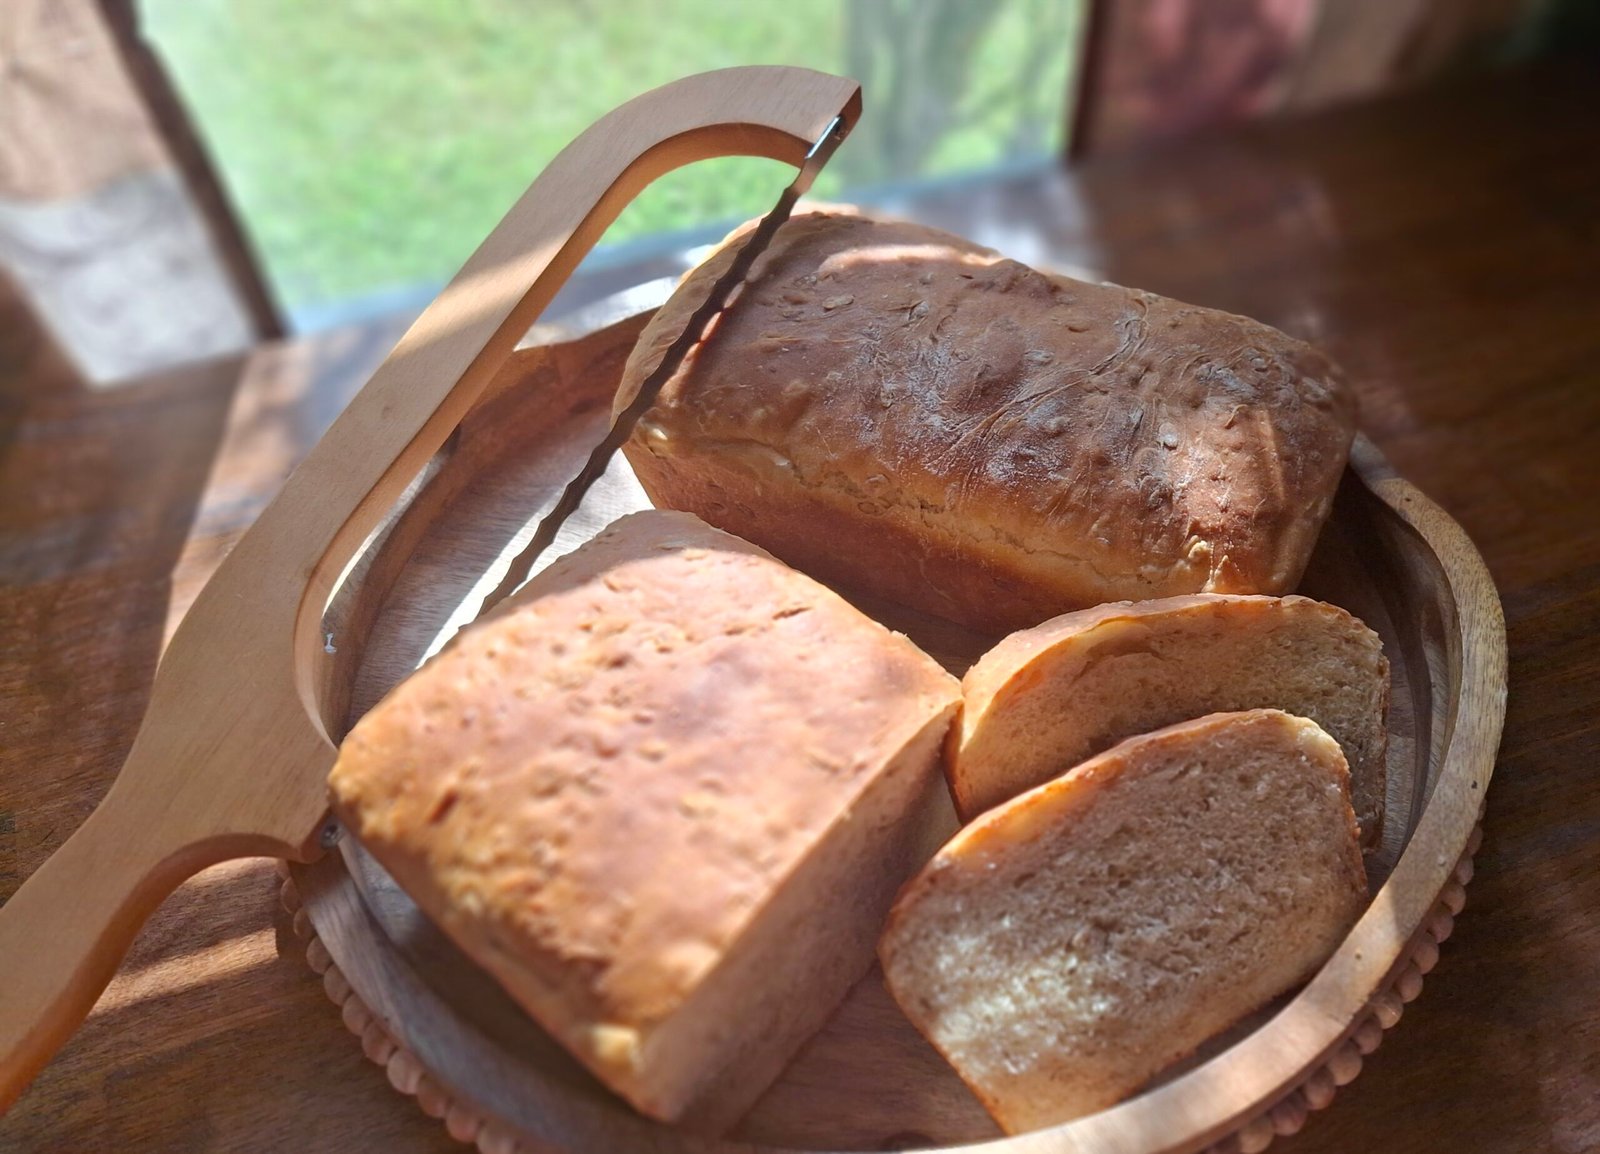
When I first started baking bread, I wasn't expecting to enjoy it as much as I do. This oatmeal bread has quickly become one of my favorites. It's soft, flavorful, and filling, and one I find myself making again and again.
One of the things I love most is that it helps me add more fiber to my diet, and I usually pair it with eggs or a high-protein filling to create a satisfying meal. As I continue focusing on eating more protein and fiber, this bread has become a staple in my kitchen.
Recipe Details
Total Time
Approximately 3 1/2 – 4 Hours
Ingredients
- 2 cups Quaker Old Fashioned Oats (not Quick Oats)
- ⅔ cup packed light brown sugar
- ¼ cup Nutiva Organic Virgin Coconut Oil
- 1 tablespoon salt
- 2½ cups boiling water
- 1½ tablespoons Fleischmann’s Active Dry Yeast
- ½ cup warm water (95°–110°F)
- 5 cups King Arthur Unbleached Bread Flour
From My Kitchen: After many loaves (and a few learning experiences!), these are the ingredients I've come to trust. They're always in my pantry because they consistently make soft, delicious homemade bread.
Instructions
- In a large mixing bowl, combine the old-fashioned oats, brown sugar, Nutiva Organic Virgin Coconut Oil, and salt. Carefully pour the boiling water over the mixture, stir well, and let it cool until it is warm, not hot.
- In a separate bowl, dissolve the Fleischmann’s Active Dry Yeast in the warm water (95°–110°F). Let it sit for 10–15 minutes, or until it becomes foamy.
- Add the yeast mixture to the cooled oat mixture and stir to combine. Gradually add the bread flour, mixing until a soft dough begins to form.
- Transfer the dough to a well-floured surface and knead until it feels soft, slightly tacky, and easily forms into a loose ball. I never imagined this would become my favorite part of bread making, but I find kneading dough incredibly relaxing and therapeutic.
- Lightly dust the bottom of your mixing bowl with flour before returning the dough to the bowl. Cover (I usually just throw a clean kitchen hand towel over the bowl) and let it rise for about 1 hour, or until doubled in size.
- Turn the dough out onto a lightly floured surface and divide it into two equal pieces. Mine aren’t always exactly the same size, and that’s perfectly okay! Gently knead each piece a few times, then shape it into a log so that it will fit into the loaf pan.
- Grease two loaf pans with butter or your preferred oil. Place each loaf into a prepared pan, cover, and let rise again for 30–45 minutes, or until the dough has risen nicely.
- Bake at 350°F for 35 minutes. The tops will be golden brown.
- Let the bread cool in the pans for about 5–10 minutes before transferring it to a wire rack. Enjoy a warm slice, or allow the loaves to cool completely before storing. I find that the beeswax bread bags keep the bread fresher longer.
Bread Baking Tips
Every loaf teaches me something new. I've made my share of mistakes, and that's part of learning to bake bread. I hope these tips help you avoid a few of the mistakes I've made while giving you the confidence to enjoy the process.
- Lightly flour your mixing bowl before the first rise to help the dough release more easily.
- Don’t worry if your two loaves aren’t exactly the same size. Mine rarely are, and they always turn out delicious!
- Never heat the water with the yeast already mixed in. Warm the water first, then add the yeast. I learned this the hard way—I wondered why my yeast never became frothy and why my bread wouldn’t rise.
- Use Quaker Old Fashioned Oats, not quick oats, for the best texture and consistency.
- Keep your water temperature between 95°F and 110°F when activating the yeast. Water that’s too hot can kill the yeast, while water that’s too cool may prevent it from blooming properly.
- Don’t let the yeast sit in the water for too long. Once it’s activated, move on with the recipe. After about 15 minutes, the yeast begins to run out of food, weakening its ability to help the bread rise.
- Measure your flour correctly. Spoon the flour into your measuring cup and level it off with a knife instead of scooping directly from the bag. This helps prevent adding too much flour, which can make the bread dense.
- Be patient during the rise. Bread rises best in a warm, draft-free spot. If your kitchen is cool, it may simply need a little extra time.
Products I Used
If you're looking for the exact ingredients and tools I use, you'll find them below.
Disclosure: As an Amazon Associate, I earn from qualifying purchases. If you purchase through these links, I may earn a small commission at no additional cost to you. #ad #affiliate
Thank you for supporting Blooming Harbor!