
Banana Nut Chocolate Chip Ninja Creami Ice Cream
Disclosure: As an Amazon Associate, I earn from qualifying purchases. This post contains affiliate links, which means I may receive a small commission if you purchase through these links at no extra cost to you. #ad
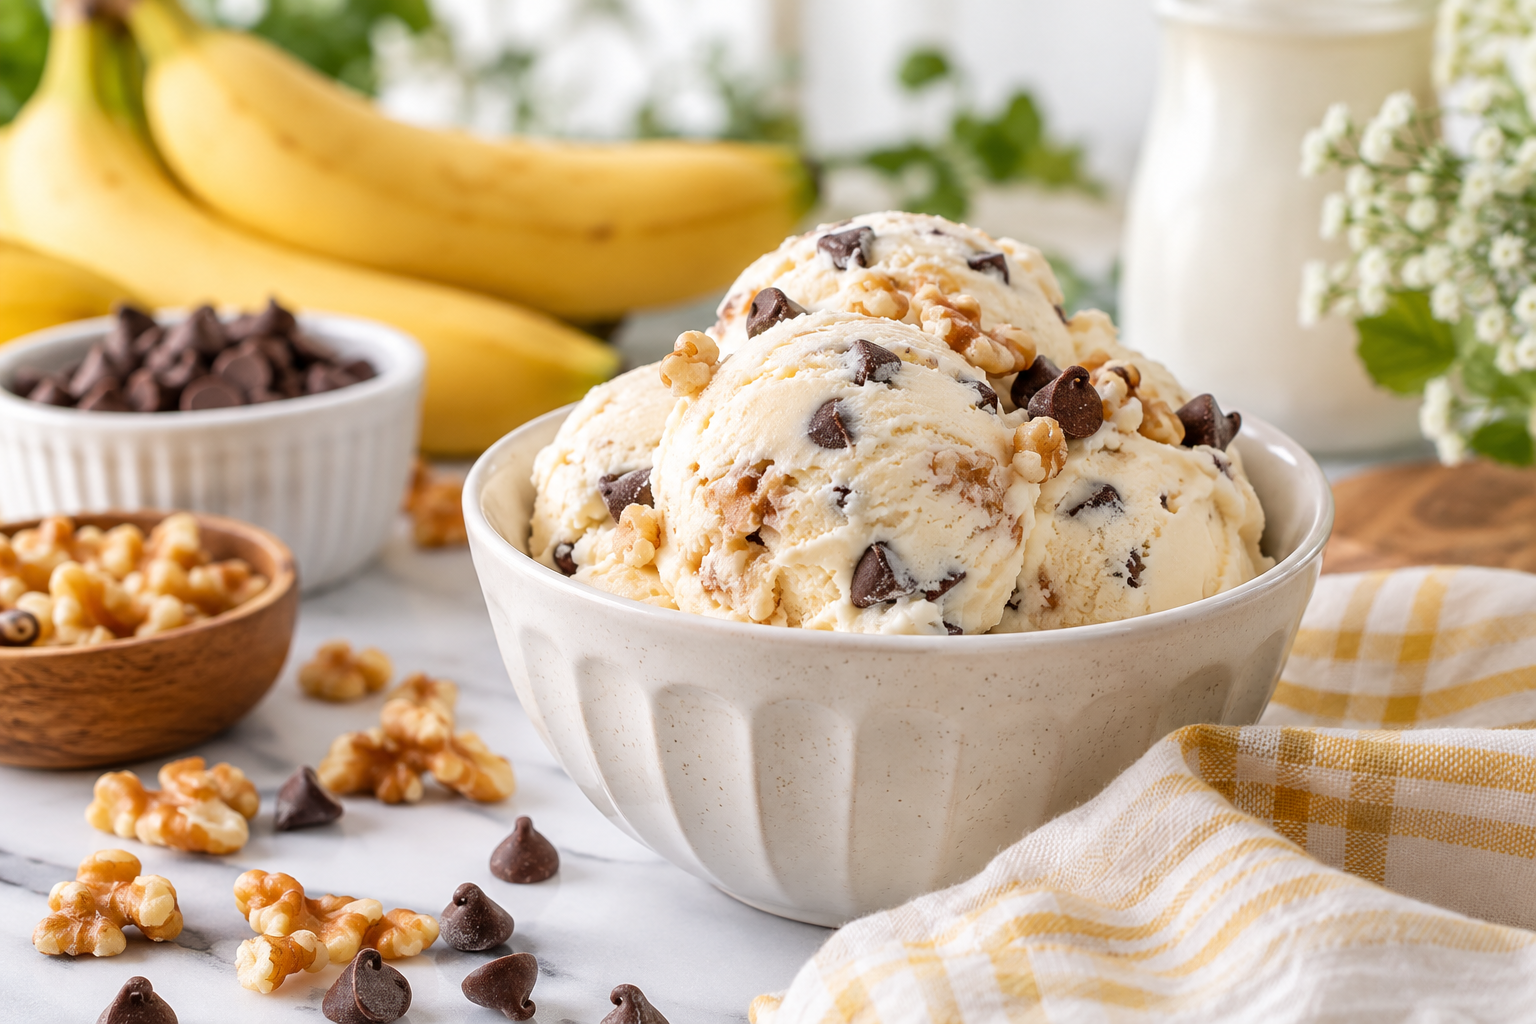
A creamy banana treat with chocolate chips and crunchy walnuts.
Banana, chocolate, and walnuts have that familiar combination that reminds you of something comforting and homemade. This Ninja Creami version takes those flavors and turns them into a creamy frozen treat that’s simple to make right at home.
I started with my go-to Greek yogurt and milk base, added vanilla protein powder and sugar-free banana pudding mix for that delicious banana flavor, then finished it with semi-sweet chocolate chips and walnuts.
It’s a simple little treat that brings together some wonderfully familiar flavors in every scoop.
What You'll Need
Ninja Creami
I use the Ninja CREAMi Deluxe 11-in-1, NC501 (paid link), but you can use whichever Ninja CREAMi model you have.
Extra Creami Pints
If you’re going to make Creami recipes regularly, having extra pints in the freezer makes life so much easier. You can prepare several flavors ahead of time and have them ready to spin when the craving hits.
Extra Ninja CREAMi Deluxe Pints (paid link)
Be sure to check the compatibility of the pints with your specific Ninja CREAMi model before purchasing.
Ingredients
Ice Cream Base
- 1 cup Fage 0% Plain Greek Yogurt (or your favorite plain Greek yogurt)
- ½ cup Fairlife Fat-Free Milk (or your favorite milk)
- 1 packet Clean Simple Eats Vanilla Protein Powder (paid link) — 20g protein (or your favorite vanilla protein powder)
- 2 tablespoons sugar-free Banana Pudding Mix
- 2 tablespoons monk fruit sweetener (paid link)
- 1 teaspoon vanilla extract (paid link)
- A pinch of salt
Mix-Ins
- Lily’s Semi-Sweet Chocolate Chips, to taste
- Chopped walnuts (paid link), to taste
I used about ¼ cup total between the chocolate chips and walnuts.
Let's Make It
1. Make the Base
Add all of the ice cream base ingredients directly to the Ninja Creami pint.
Using an immersion blender (paid link), blend until smooth and creamy. Since the Greek yogurt is thick, I find an immersion blender works best.
2. Freeze
Place the lid on the pint and freeze on a level surface for 24 hours.
3. Process
Remove the pint from the freezer and process using the Ice Cream setting.
4. Add the Mix-Ins
Make a small well in the center and add the chocolate chips and chopped walnuts.
I used about ¼ cup total, but you can adjust the amount to your liking.
Process using the Mix-In setting.
5. Scoop & Enjoy
Scoop it into your favorite bowl, add a few extra chocolate chips or walnuts if you’re feeling generous, and settle in with a spoon.
Sometimes the simplest things are the ones that make an ordinary day feel a little sweeter.
A Little Something to Remember
This recipe is meant to be flexible. Use the Greek yogurt, milk, and vanilla protein powder you already enjoy, and adjust the chocolate chips and walnuts to make it just the way you like it.
After all, there’s no one right way to make something good.
More Ninja Creami Recipes
If you’re enjoying your Creami, you might also like:
Vanilla Blueberry Greek Yogurt Ninja Creami Ice Cream
A creamy vanilla-blueberry combination made with Greek yogurt, milk, vanilla protein powder, and fresh blueberries.
How to Clean Your Ninja Creami
Don’t forget the cleanup. After making a delicious Creami creation, giving the removable parts a good cleaning keeps everything ready for the next flavor.
For the safest instructions, follow the cleaning directions for your specific Ninja CREAMi model, since models can differ.